I love the look of an attic bedroom with worn, uneven plank floors. I really dislike the look of 18 year old mauve carpet.

Did you know you can hire teenage boys to do jobs like rip out carpet and then pay them in spaghetti and chocolate chip cookies? You can, and that’s what I did. They made quick work of getting rid of the old carpet and pad. That saved me a ton of time and ibuprofen! The old carpet is now looking very stylish in a friends garden between her rows of raised beds!

I went to our local lumberyard and ordered 10 4×8 sheets of 1/2″ plywood. These were sheathing grade plywood and cost around $20 each. Her room is quite large, about 300 square feet including the carpet. There was very little waste and I actually had a few planks left over. The lumberyard charged me $20 to rip the boards into 8″ planks. Well worth the money. This is where I a.so made my first mistake. I told them 8″ planks, what I should have said was 6 planks of equal width, because what happened was I got five 8″wide boards, and one 7.5″. The saw blade eats up a fraction of an inch making the last one narrower. It worked out fine, I just used the narrow boards along the edges and in the closet. Next time I will know better.
After my son picked the boards up for me, I used my palm sander and medium grit sandpaper to smooth the tops of each one and chamfer the edges. I rounded the edges to give the look of a worn plank. I didn’t want a sharp cut edge butting up against another. I also used wood filler to fill in any large knot holes.
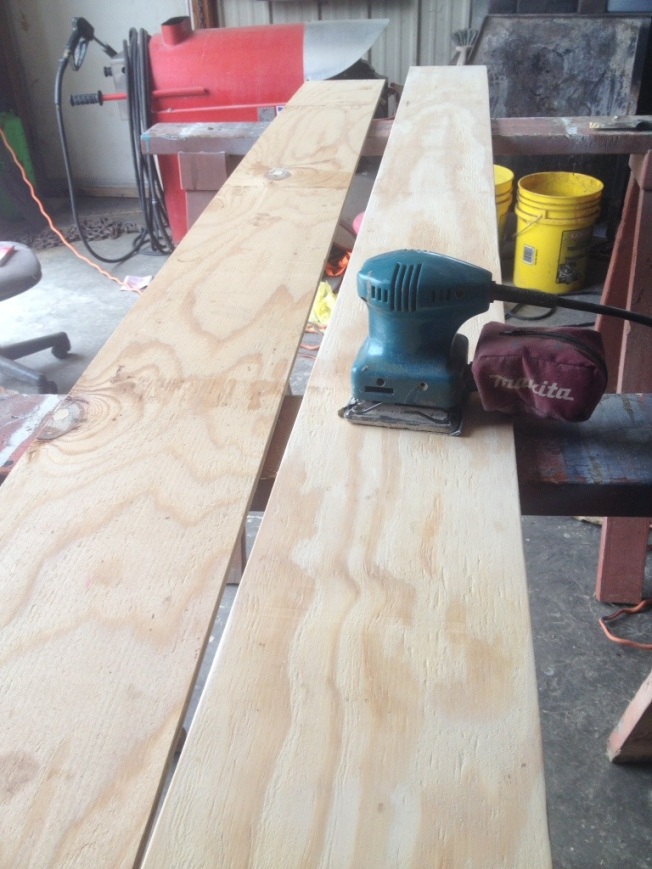
In this photo you can see in the board on the left where I filled a couple of knot holes. This grade of plywood has one side smoother than the other, but honestly, once they are cut and have been handled. It was hard to find the better side sometimes. Some boards needed much more sanding than the others. A few of the boards also had printing on them. I sanded off what I could.
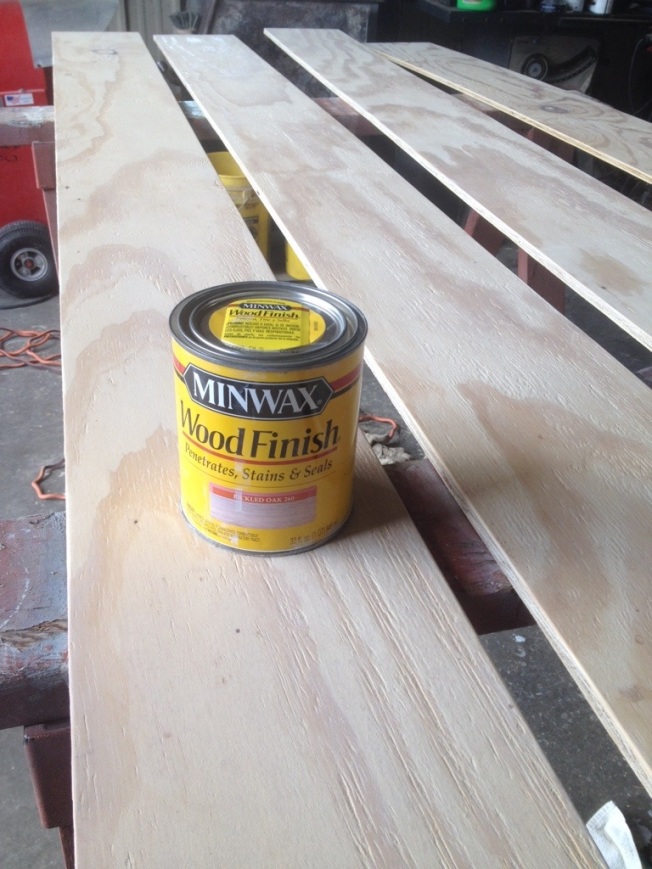
Next was to paint each one with sanding sealer. This started a series of events, that could have bee disastrous, but actually worked out quite well. My daughter in law painted on the sealer and as they dried she sanded them lightly and handed them over to me to stain. Problem was I only bought one quart of sealer. We ran out of that, I found two more partial cans that we used. Each one was a different type. Make a note. That’s big if you want the stain to take the same on each board. As she was finishing I was painting on a stain I had bought called pickled oak. I had a lot of boards and only bought one quart of stain. About 15planks in I could see that I was going to need a couple more quarts! I also wasn’t happy with now they were looking. They had kind of an off tint. And I was wanting a white wash look. So I started over and painted each board with a washed down layer of white latex paint. I had to mix paint up several times, sometimes it was heavier, some more watered down. So, the combination of three different sealers, some boards stained and then whitewashed, and multiple batches of white wash, I have some very different looking boards!
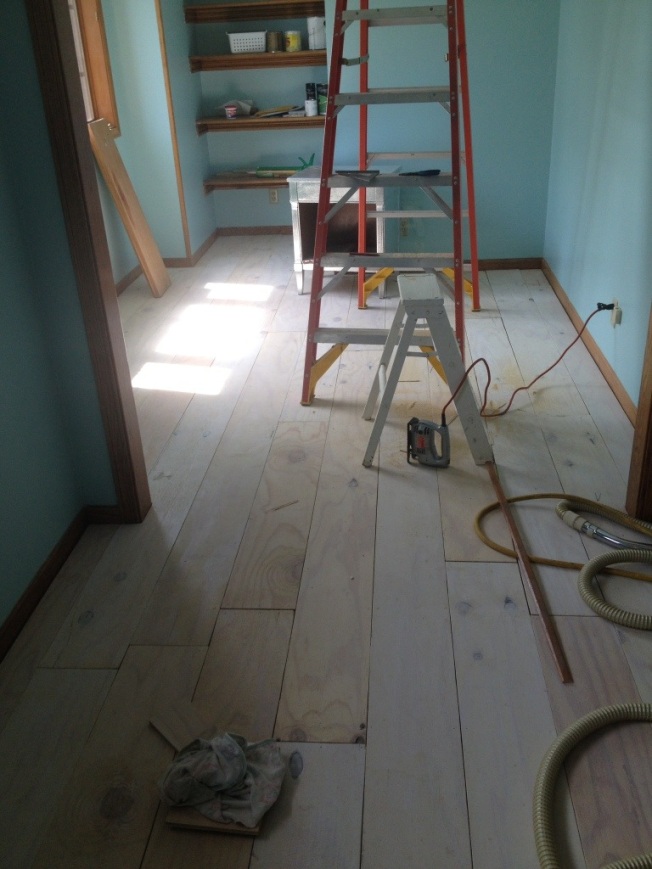
First step after the board dried was to go I side and screw down the subfloor any place I had a squeak in the floor and make sure there weren’t any tacks left sticking up. I started by measuring off across the middle of the room and snapping a chalk line. This is where I would put down my first board. I made sure to make it a distance where on either side I would have about half a board to fill in on both sides of the room. I used Liquid Nails flooring adhesive (i used 6large tubes) to put a line on the back of each board, then my most favorite tool in the world, an air finish nailer to fasten down each board. Let me tell you, if you’ve never used an air nailer, you should! It is a great equalizer for girls! I can never put a nail in straight by hand and this thing just shoots them in like butter! So it goes like this: squirt a squiggly line of flooring adhesive, lay the board along the line, butting it up against the wall, squish the glue down and nail it down. I put my nails on both sides of the plank and did my best to use the builders pencil lines from where they nailed down the subfloor. I was using 2″nails and wanted to hit the floor joist not just nail into the subfloor. I also ran the planks across the joists, not parallel with them. Not sure if it matters, but it’s what I did. Once the first board was put on I used a 4″ board to start the next row, the row after that started with an even shorter board. I staggered each start, so that I didn’t have seams laying next to each other. Soon I had to go back and fill in along the opposite wall. I used a straight edge and a hand jig saw to do all my cuts. They weren’t perfect, but it was easier than carrying a chop saw upstairs. I already had an air compressor in the ext bedroom, that was enough!
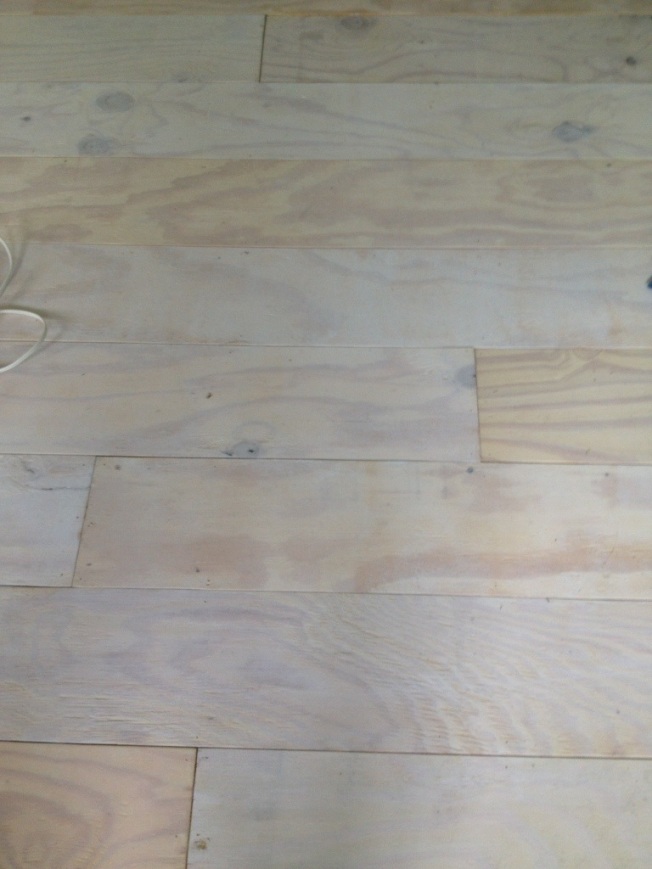
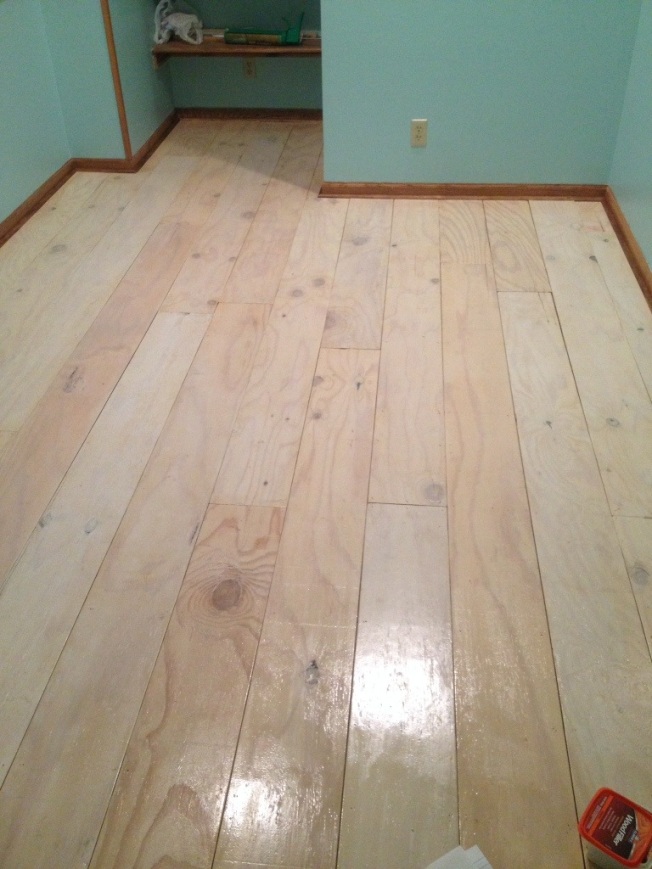
Can you see the color difference in the boards? It drove me crazy at first, but by the time I was done it had grown on me and I loved it. It looked more like recycled boards.
I did not take up the floor boards as they were close to half an inch off the subfloor anyway. Is made it a little tricky finishing things up when I came to going around the door frames. I got as close as I could with the jig saw.
It took me two afternoons to lay the boards. Not bad and they looked great! I vacuumed really well, then used semigloss quick drying polyurethane for floors and a lambs wool pad to coat the floors three times, letting them dry 12-24hours between coats. I did not sand between coats! After those three coats were dry I still felt like it needed more and I had a couple spots that had been,issued by the lambs wool pad,so the fourth coat went on with a brush. This time I painted two or three boards completely across the room so I didn’t miss any spots. Altogether I used about a gallon and a half of poly.
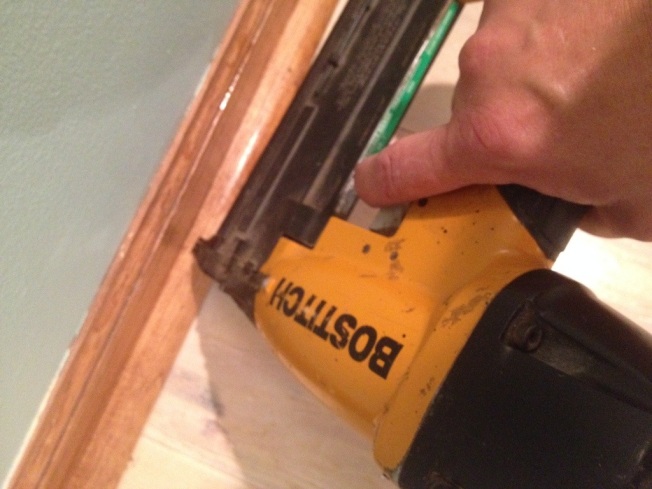
Between the third and fourth coats I put stained shoe moulding down along the edges. This made everything look really nice except for around the door frames. The best I could figure out to do with that gap was to fill it with wood putty. It worked really well, and after the final coat of poly isn’t noticeable at all. Again the air nailer was my best friend!
Done! I love how they look, and I can’t wait to show you what else I’ve been doing for her room!


